
Monday, 27 March 2017

Wednesday, 9 November 2016

Wednesday, 5 October 2016

Monday, 3 October 2016

Wednesday, 20 July 2016

Saturday, 16 July 2016

Sunday, 3 July 2016
Re-pointing and Soffits
Over the last few years a great deal of mortar had fallen out of the walls. We've been talking about having the re-pointing done for a couple of years now, but finding someone to do it took time. Then one day last fall we happened to be driving by a truck bearing the name of a masonry contractor. The Geek made contact, and in late April, the crew showed up to start what was estimated to be a two to three week job. Ten weeks later they removed the last of their stuff from the yard after what turned out to be a very dirty job (I suspect all mortar work is dirty-it wasn't just us.)
While the scaffolding was up The Geek took advantage of its existence to install soffits and in some places, fascia, something she has wanted to do for years.

On the left side of the photos (above and below) you can see where the soffits have been installed.

The front is done.

The hydro entry point proved to be tricky and that was finished after the crew and their scaffolding left.

The east and west sides were the highest.

 The yard was full, both with our stuff that was taken from beside the house, the rain barrels, and the scaffolding, tool boxes and sand containers belonging to the crew.

In the end, we have consistently coloured mortar and more stable bricks

And a lawn that needs mowing now that we can access the lawnmower.

While the scaffolding was up The Geek took advantage of its existence to install soffits and in some places, fascia, something she has wanted to do for years.

On the left side of the photos (above and below) you can see where the soffits have been installed.

The front is done.

The hydro entry point proved to be tricky and that was finished after the crew and their scaffolding left.

The east and west sides were the highest.


In the end, we have consistently coloured mortar and more stable bricks

And a lawn that needs mowing now that we can access the lawnmower.

Sunday, 3 April 2016

Saturday, 19 March 2016
Rapid Changes
This week we've had sun, rain and snow, sometimes all three on the same day. The resulted such extravagant weather and plus 13 days?
By Wednesday most of the snow was gone. Then Thursdsy morning we foind at least five inches of wet snow.  Friday the sun came out again and most of the snow melted again and the Red River is rising quickly.
Today the tulips popped up.
What a strange month this has been.
Friday, 4 March 2016

Wednesday, 24 February 2016


Sunday, 21 February 2016
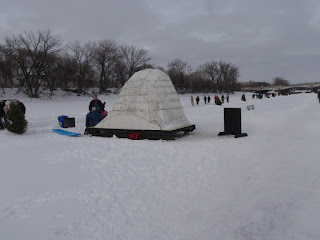
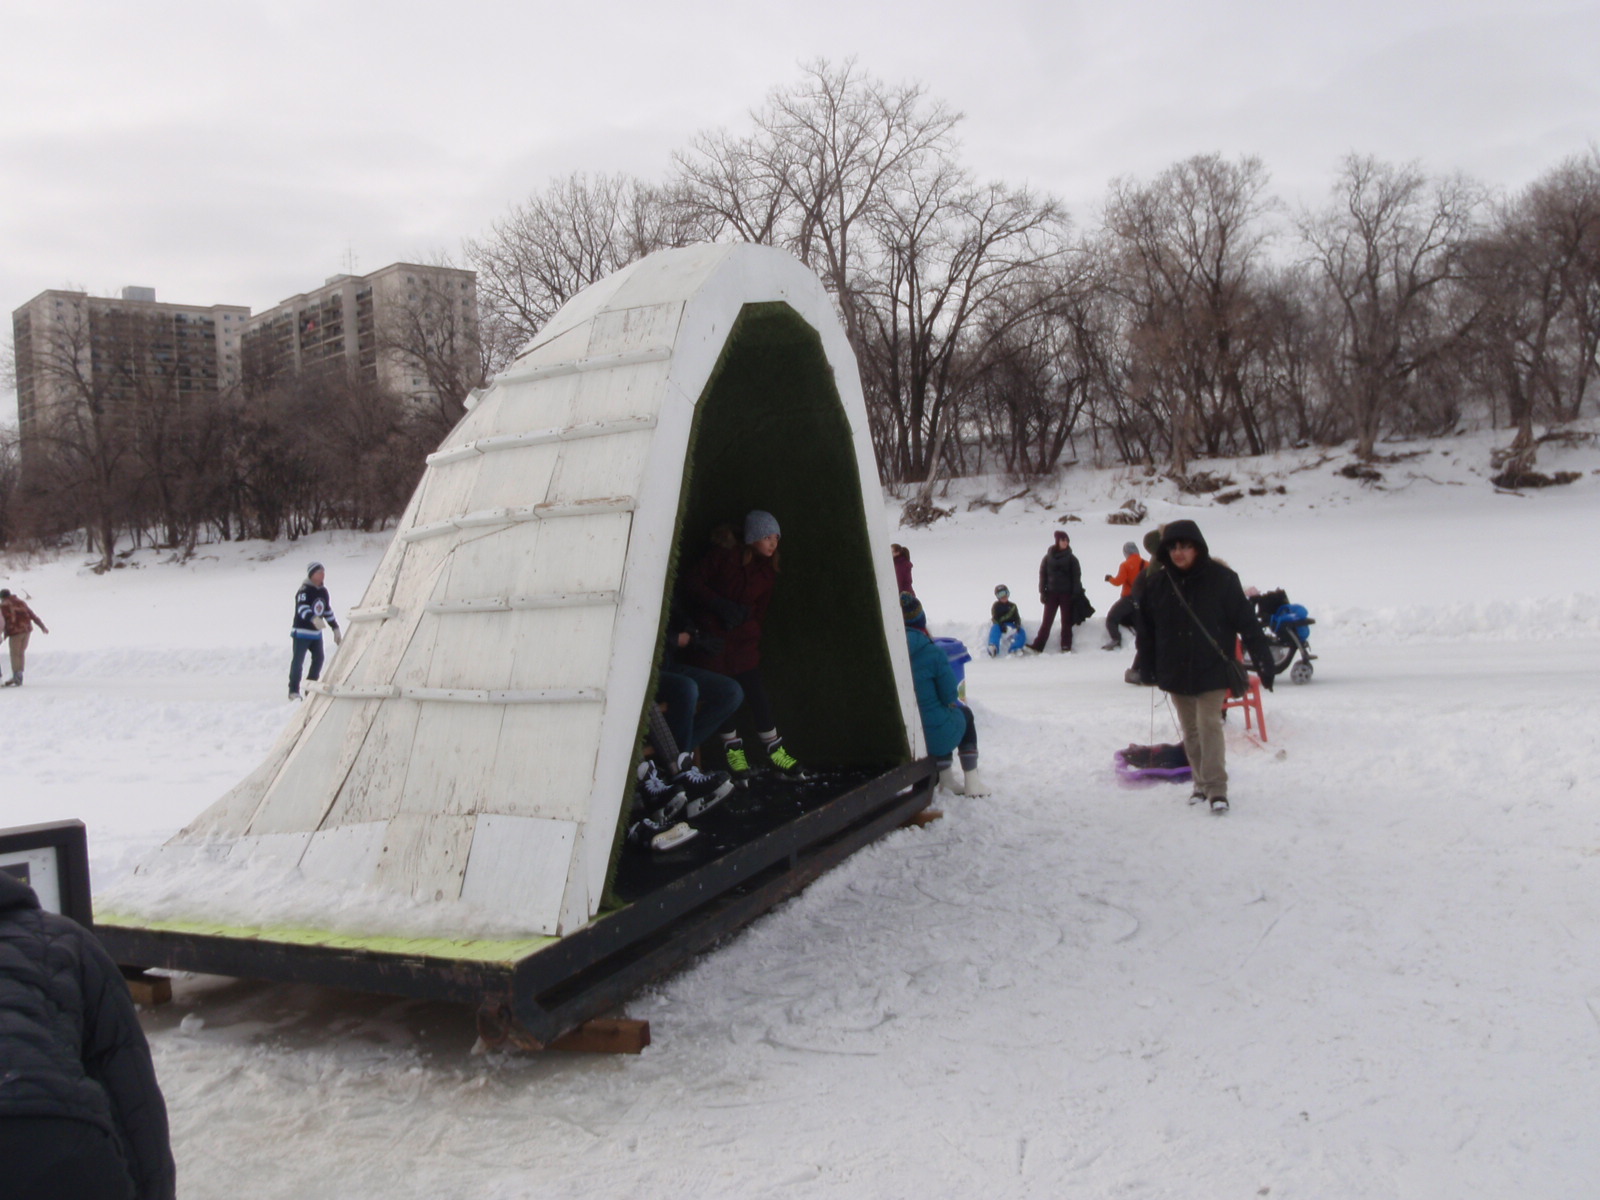
Louis Riel Day on the River Trail
The weather was amazing and the trail was crowded, more so the closer we got to the Forks.
The warming huts.




 |
| The river trail |
 |
| Down on the trail. |
 |
| River bank stabilization off Guay Park |


 |
| Ice sculpture |
 |
| Loon |
 |
| Bear |


 |
| To find the way home. |
Sunday, 6 December 2015
Making a Partial Face Mask
We were invited to a Mardi Gras themed Christmas party. Cue the 'project time' music -we're going to make super spiffy face masks. And even tho' we don't know what kind of theme they will follow, we got started with the casting.
We chose to do the casting in the bathroom since we thought if we splashed any plaster around it would be easiest to clean from the linoleum.
I put oil on my face and lay down on the floor.

A towel to get my hair out of the way.
Three layers of fiber/plaster is layered on and left to cure for a about 15 minutes. This is the same stuff previously used for orthopedic casts. The Geek found it at a clearance house.

I am attempting to pry the mask off.

It is proving difficult ...

...and it is pulling on my eyelids.

It has now let go.

But I have plaster stuck to my face.

We learned from this and covered the Geek's eyelids with tissue soaked in oil.

She also didn't leave her mask on as long as I did and it was much easier to remove.

The dried mask.

Using the dremel to cut the eye holes.


Sketching the shape to cut.

The Geek's is ready to paint.

Mine needs to have some additional layers added.

A brow ridge.

The masks drying on the radiator after being primed.

The Geek testing paint methods and colours using the little guy on the screen for guidance.

Checking to make sure the mask fits.

Partially finished. When the painting was completed the Geek sprayed the inside and outside of the mask with a matte clearcoat and glued a ribbon on the inside just above the eyes to keep it on.

The Geek with her 'nose in a book, head in the clouds' and my owl.

We went to the party last night. The weather was so warm (an amazing 1C degree when we left home) that I only wore the sweater you see in this picture instead of a jacket. But fear not; being a prepared Prairie girl, I had a jacket, toque and mitts along in the car!
We chose to do the casting in the bathroom since we thought if we splashed any plaster around it would be easiest to clean from the linoleum.
I put oil on my face and lay down on the floor.

A towel to get my hair out of the way.
 |
| I've just noticed the bottom of the bathroom sink is dirty. How did that get there? |

I am attempting to pry the mask off.

It is proving difficult ...

...and it is pulling on my eyelids.

It has now let go.

But I have plaster stuck to my face.

We learned from this and covered the Geek's eyelids with tissue soaked in oil.

She also didn't leave her mask on as long as I did and it was much easier to remove.

The dried mask.

Using the dremel to cut the eye holes.


Sketching the shape to cut.

The Geek's is ready to paint.

Mine needs to have some additional layers added.

A brow ridge.

The masks drying on the radiator after being primed.

The Geek testing paint methods and colours using the little guy on the screen for guidance.

Checking to make sure the mask fits.

Partially finished. When the painting was completed the Geek sprayed the inside and outside of the mask with a matte clearcoat and glued a ribbon on the inside just above the eyes to keep it on.

The Geek with her 'nose in a book, head in the clouds' and my owl.

We went to the party last night. The weather was so warm (an amazing 1C degree when we left home) that I only wore the sweater you see in this picture instead of a jacket. But fear not; being a prepared Prairie girl, I had a jacket, toque and mitts along in the car!
Subscribe to:
Posts (Atom)